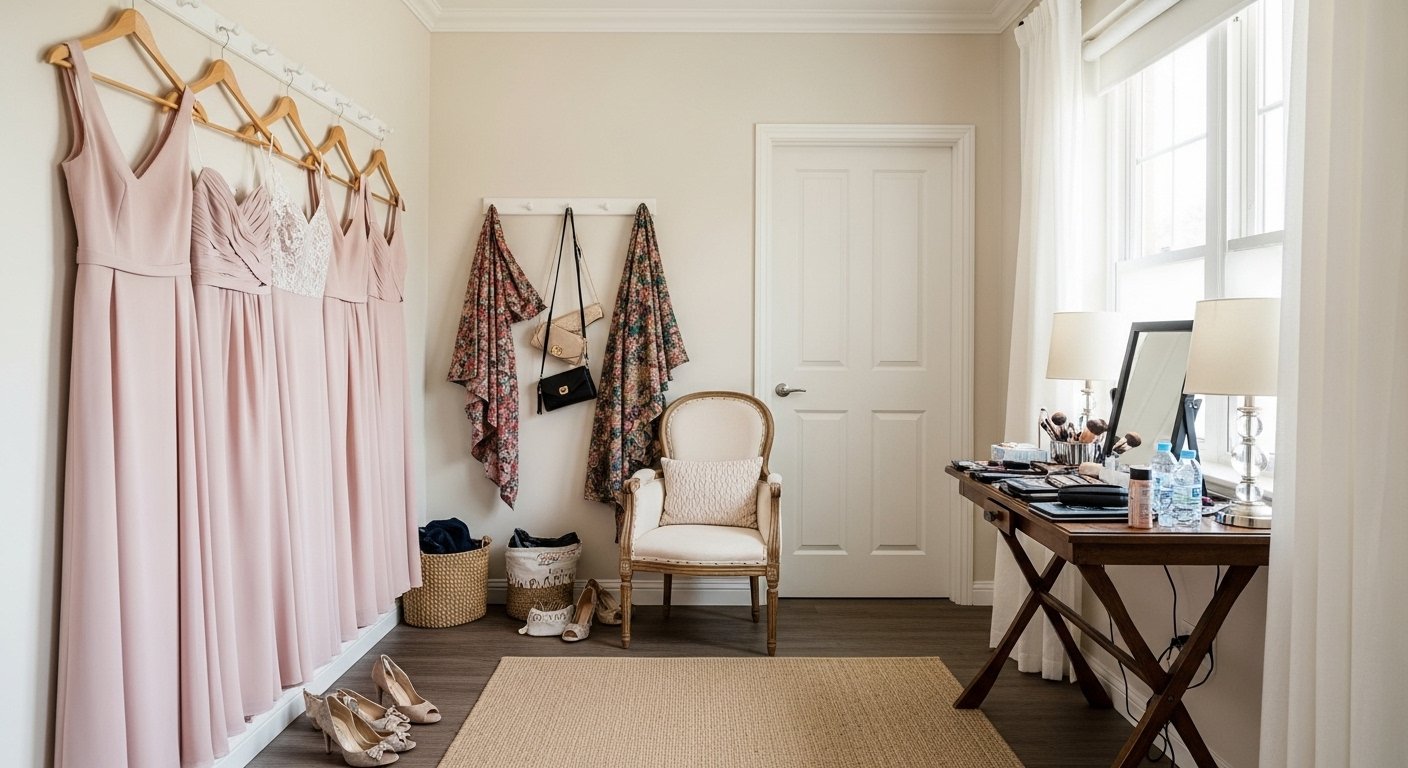
I remember staring at a row of bridesmaid dresses that looked fine individually and chaotic together. The colors didn’t sing. The hems didn’t flow. Photos would catch the wrong angles.
I learned to treat the dresses like a small installation. I edit, nudge, and simplify. It makes the whole party look calm and intentional.
How To Style Wedding Party Dresses For A Polished Look
This is the method I use when the bridal party looks scattered or unfinished. You’ll learn how to make dresses read as a single, polished group—on hangers, in photos, and during the ceremony. It’s about balance, small repeats, and sensible placement so everything feels calm and considered.
What You’ll Need
- Natural wood dress hangers (set of 10, smooth finish)
- Satin sash belts (set of 10, blush or navy, 2.5 in)
- Lightweight pashmina shawls (pack of 5, neutral tones)
- Pearl stud earrings set (5 pairs, gold-tone)
- Nude block heel sandals (women's sizes 5–10, beige)
- Neutral clutch bags (pack of 5, faux leather)
- Canvas garment bags (set of 5, breathable, full length)
- Dress clips to adjust straps (set of 12, clear)
Step 1: Start by staging dresses on matching hangers
I put every dress on the same hanger and line them up by hue and weight. That one change makes the group read together instead of as individual items. The silhouette of the party becomes continuous and tidy.
People often miss the small visual interruption of mixed hangers or clashing hooks. It’s tiny but it breaks cohesion in photos. Mistake to avoid: keeping dresses on mismatched or wrinkled hangers because “it’s fine later.” It’s not—this is your first impression.
Step 2: Add repeated accessories to create visual rhythm
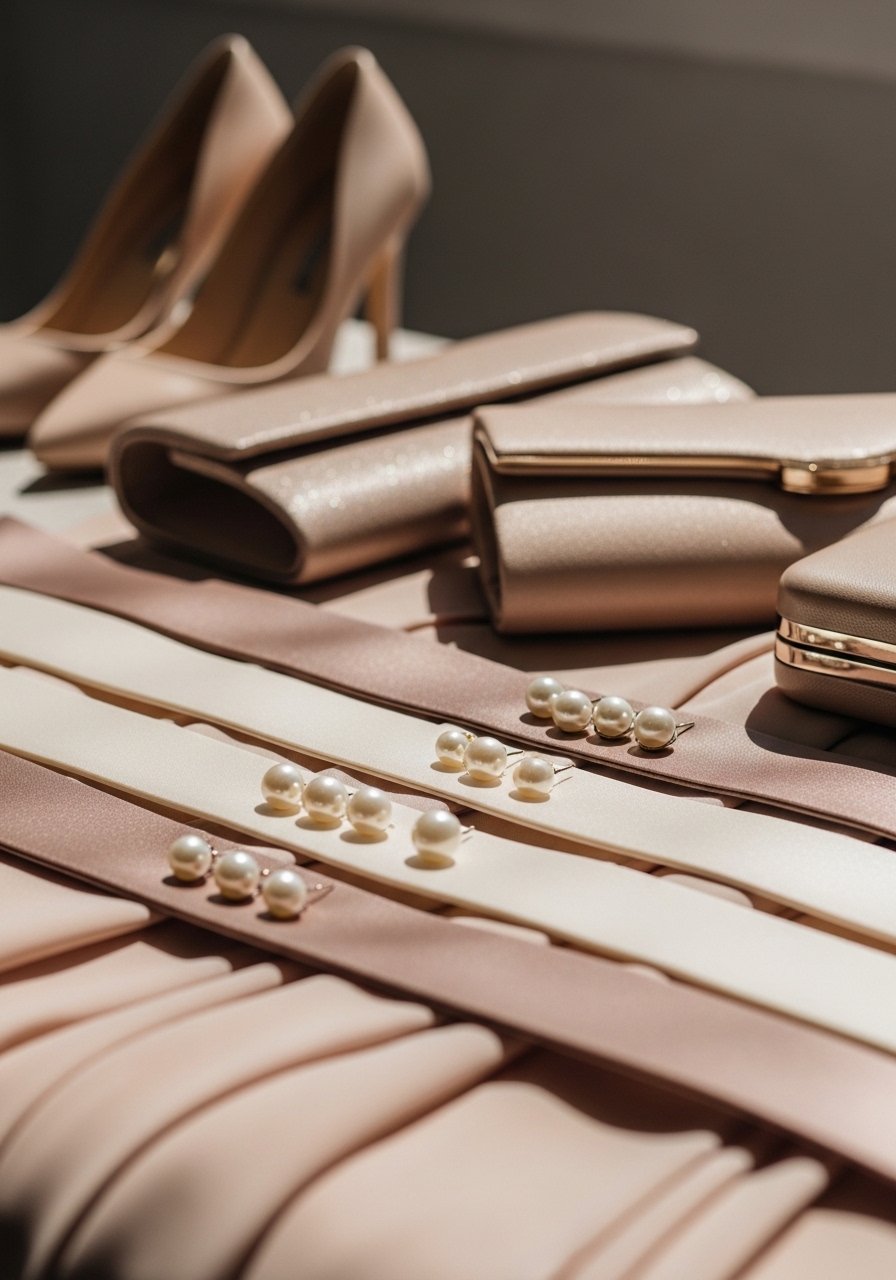
I place one repeating accessory on each dress—same sash or the same type of earring. It ties different fabrics and cuts into a deliberately curated set. The repetition reads calm and organized in group shots and during entrances.
What people miss is that repetition doesn’t mean identical. A repeated color or texture works better than forcing exact matches. Small mistake: over-accessorizing every dress differently. It looks busy. Keep one or two repeating cues and stop there.
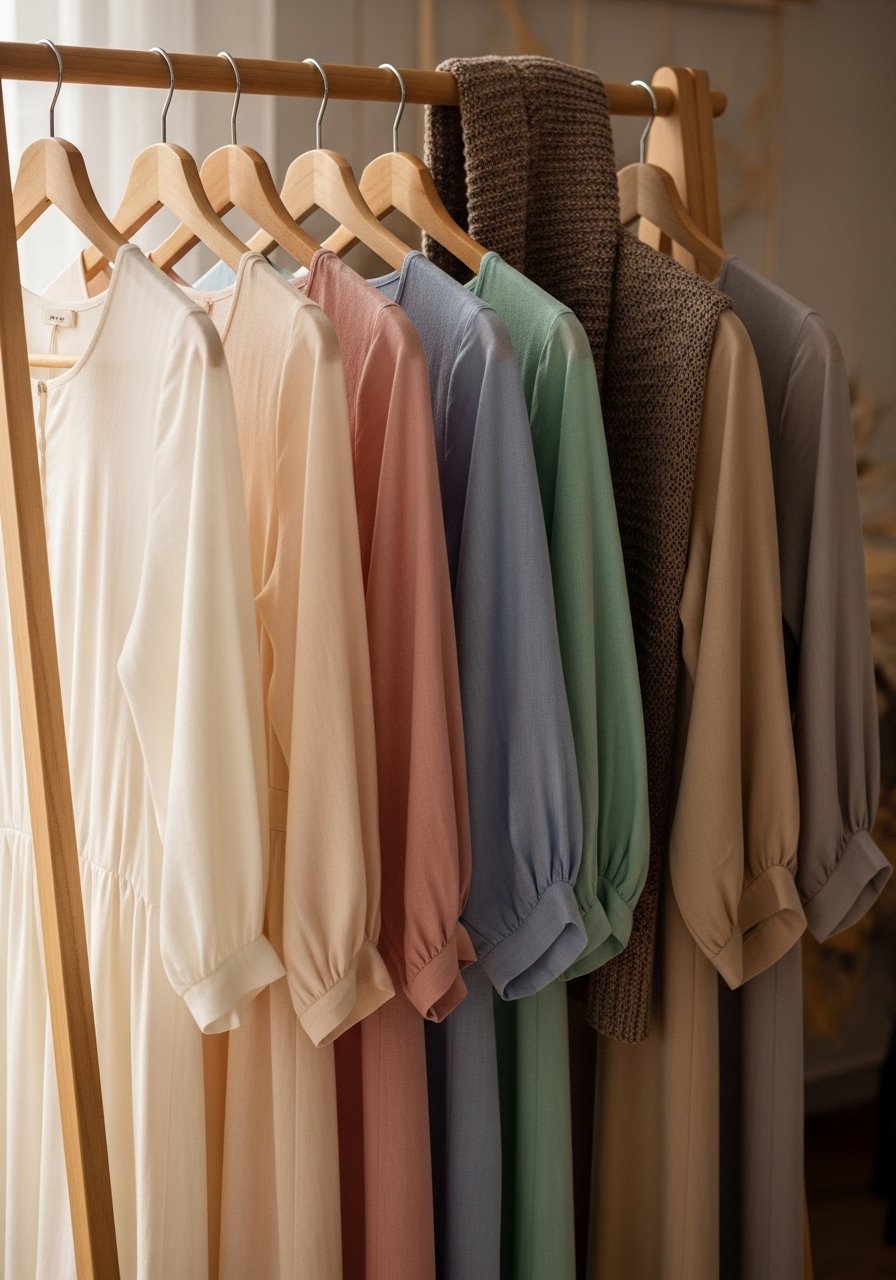
Step 3: Arrange by silhouette and practical length for photos
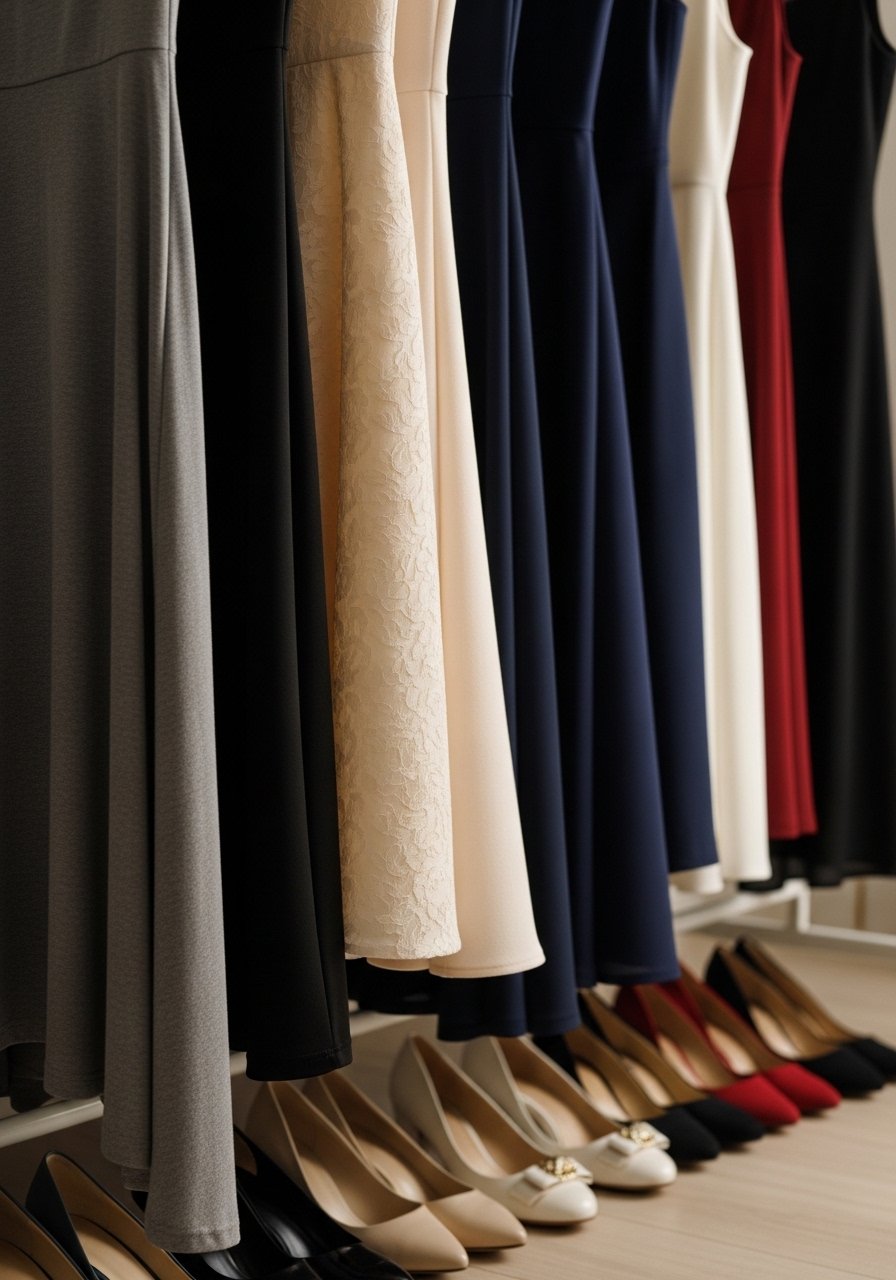
I group dresses so shapes flow—long skirts beside long skirts, A-lines near flowy cuts. That balances the group in photos and when people stand together. It also prevents odd bulks on one side of a photo.
A common oversight is thinking color alone matters. Shape affects how light and shadow play on group shots. Mistake to avoid: clustering all the same silhouette together. That creates visual blocks. Mix to keep the eye moving.
Step 4: Stage for movement—check walking lines and seating
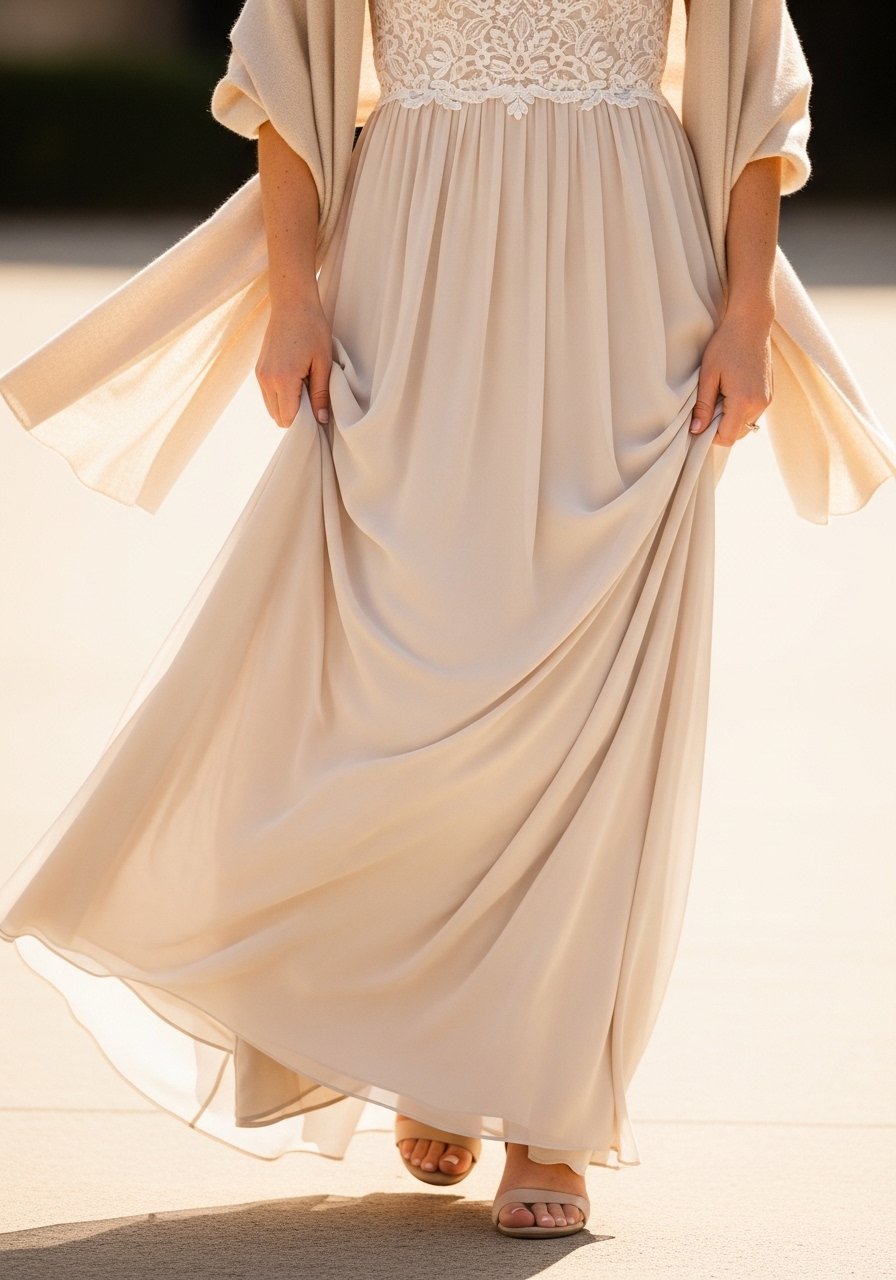
I have the party try a quick walk and sit test. It’s not theatrical—just a short step, a turn, a sit. That tells me if hems need a tiny tuck, if a shawl should be pinned, or if a shoe height throws off the photo line. It keeps moments relaxed and confident.
People often forget how much movement changes the look. A dress that’s perfect on a hanger can collapse when someone sits. Mistake: pinning hems awkwardly or forcing complex fixes that limit natural motion.
Step 5: Set up a small, sensible touch-up area and assign someone
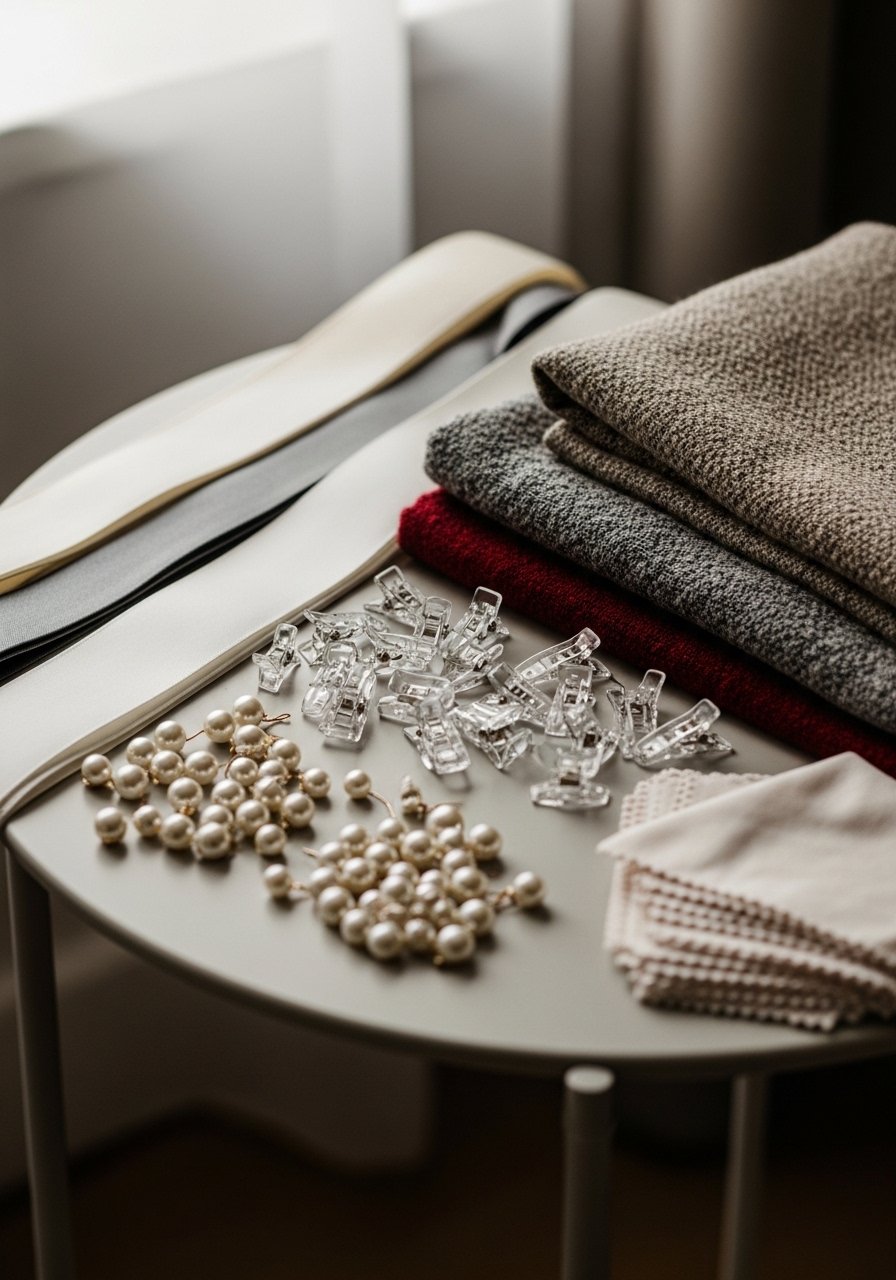
I keep a low-key touch-up station near the changing area with spare sashes, clips, and shawls. I also name one person to help—usually a bridesmaid who loves small fixes. It’s subtle but keeps looks fresh without fuss.
One insight people miss: a simple kit and a point person prevent frantic fixes five minutes before photos. Mistake to avoid: overloading the station with every option. Keep it minimal and organized.
Color & Fabric: Keep things cohesive without matching
I lean on two coordinating elements—color family and fabric weight. If dresses vary in shade, repeat a neutral accessory to bind them. If fabrics differ, balance heavier textures with lighter ones across the group.
Quick tips:
- Use one repeated metal or neutral for jewelry.
- Alternate heavy and light fabrics when grouping for photos.
- Let one color be the anchor and let smaller accents echo it.
Photo-Friendly Placement and Lighting
I place the dresses where light is soft and even. Natural window light is forgiving; overhead harshness isn’t. When arranging the party for photos, leave breathing room between people so fabrics don’t bunch.
I also think about backgrounds. A plain wall or textured greenery helps the dresses read clearly without competing patterns or clutter.
Simple Roles and a No-Fuss Backup Kit
Assign one person to manage small fixes so the bride isn’t doing it. Keep the kit compact: extra sashes, a few clear clips, a shawl, and blotting cloths. Store it in a neutral clutch or small box.
That makes touch-ups calm and quick. It also keeps everyone moving and enjoying the day instead of fussing with last-minute emergencies.
Final Thoughts
Start small. Change one thing—the hangers or a repeated sash—and you’ll see the difference. I use these tiny edits to make the whole party read as intentional and calm.
You don’t need perfect matches. You need a few repeated cues and a plan for movement. It makes photos better and time around the bride feel easier.
Leave a Reply