I stood under fluorescent shop lights, swatches in my hand, and the board I pinned looked nowhere near reality.
Choosing dresses felt like juggling mood, bodies, and a budget.
I kept overthinking details that don’t show in photos or on the dance floor.
This is the tidy version of what actually works in real light, with real people.
How To Choose Wedding Party Dresses For Your Theme And Budget
I’ll show how to pick dresses that fit the theme, flatter real bodies, and respect your budget. The result is a cohesive wedding party that photographs evenly and moves easily through the day. This is the method I use when a plan feels messy.
What You’ll Need
- Chiffon Bridesmaid Dress Sample (A-line, Dusty Blue)
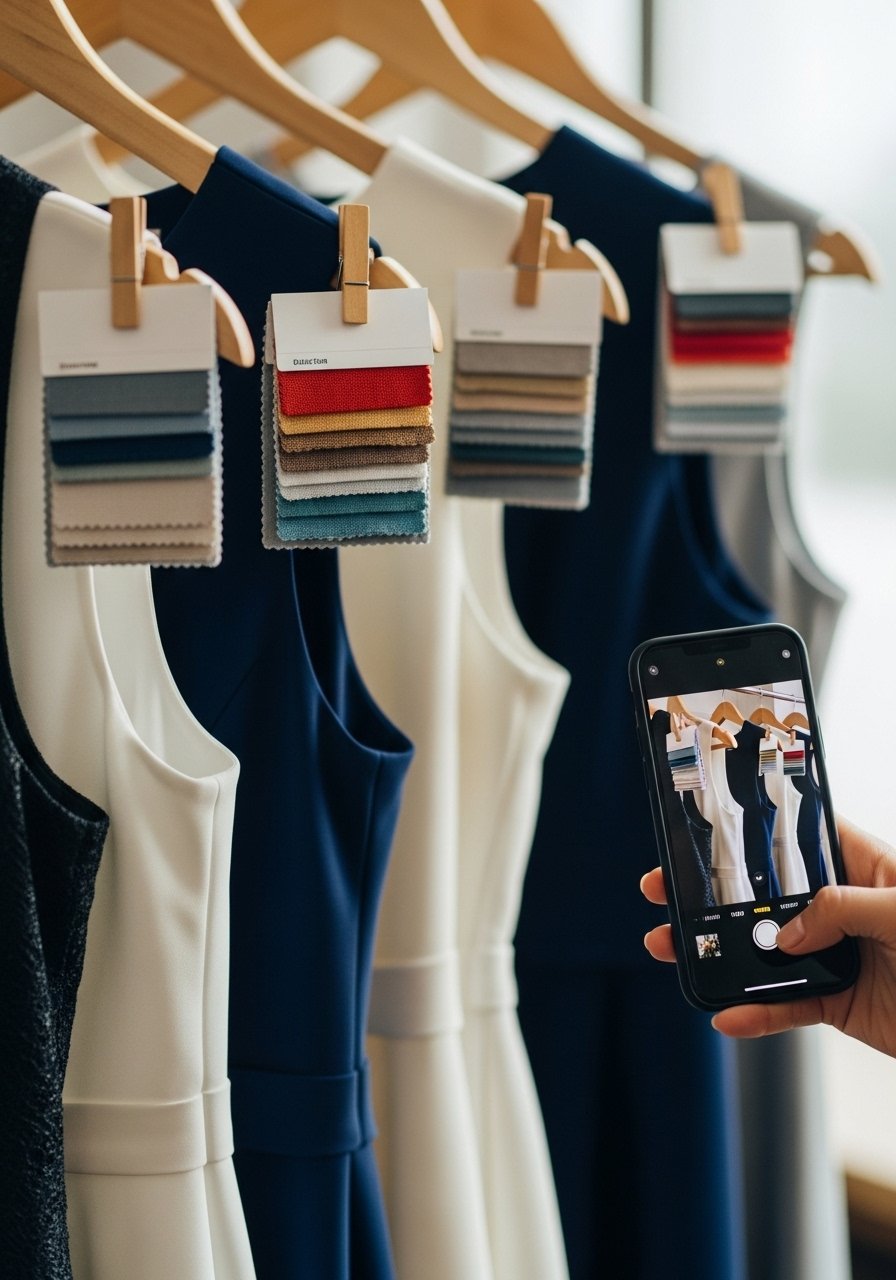
- Mix-and-Match Fabric Swatch Set (assorted colors)
- Wooden Bridesmaid Hangers (set of 6, natural wood)
- Satin Sash Set (assorted ribbon colors)
- Nude Block Heels (women's low heel)
- Delicate Gold Bracelet Set (bridal party, adjustable)
- Cloth Measuring Tape (flexible dress tape measure)
Step 1: Set a visual anchor and limit your palette
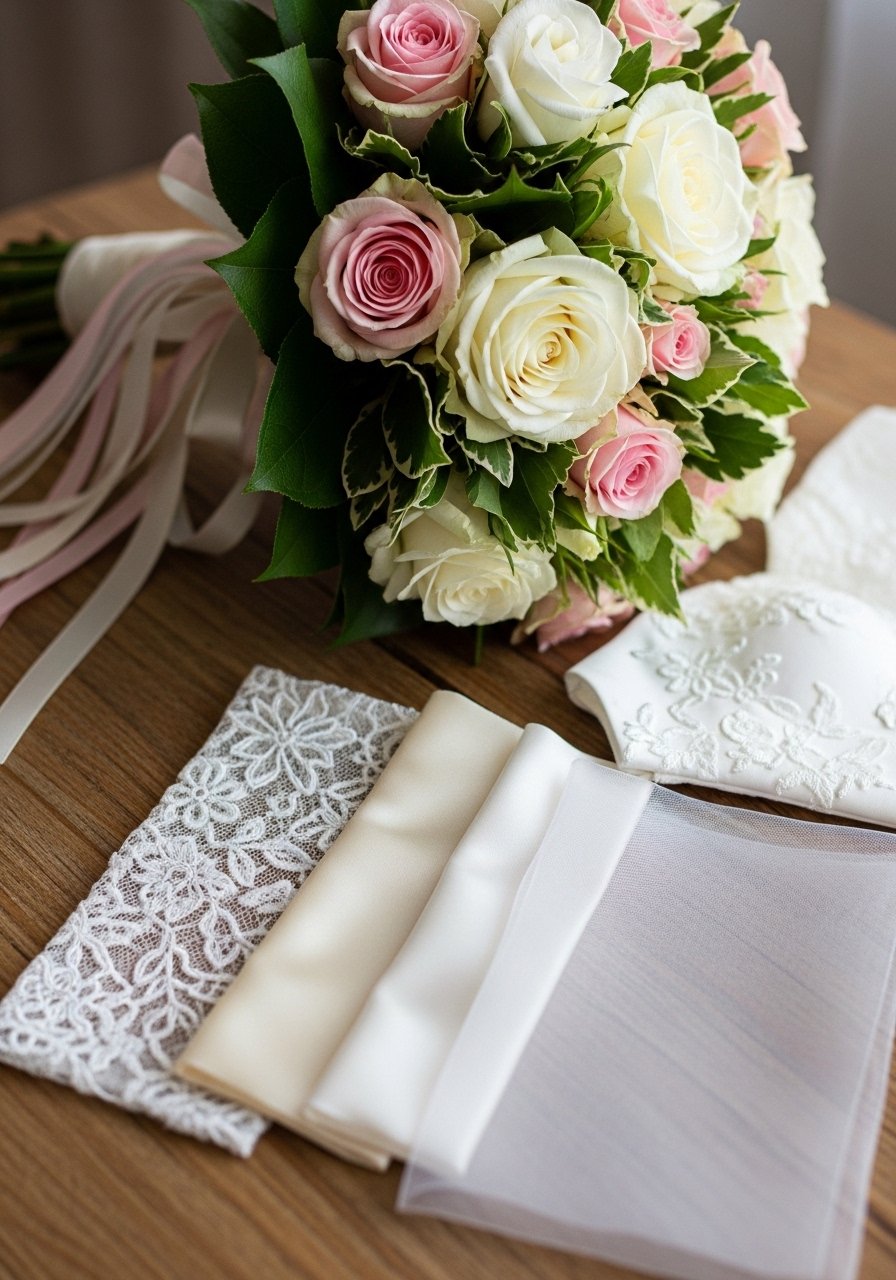
I start by choosing one clear anchor: the bouquet color, the groom’s tie, or a venue tone. That anchor gives the palette a north star. Visually, the dresses read as a family instead of a pile of unrelated fabrics. People often miss picking a single anchor, then wonder why things feel scattered. Small mistake to avoid: letting every person pick their favorite color—too many anchors break cohesion.
Step 2: Choose 2–3 silhouettes, not identical dresses
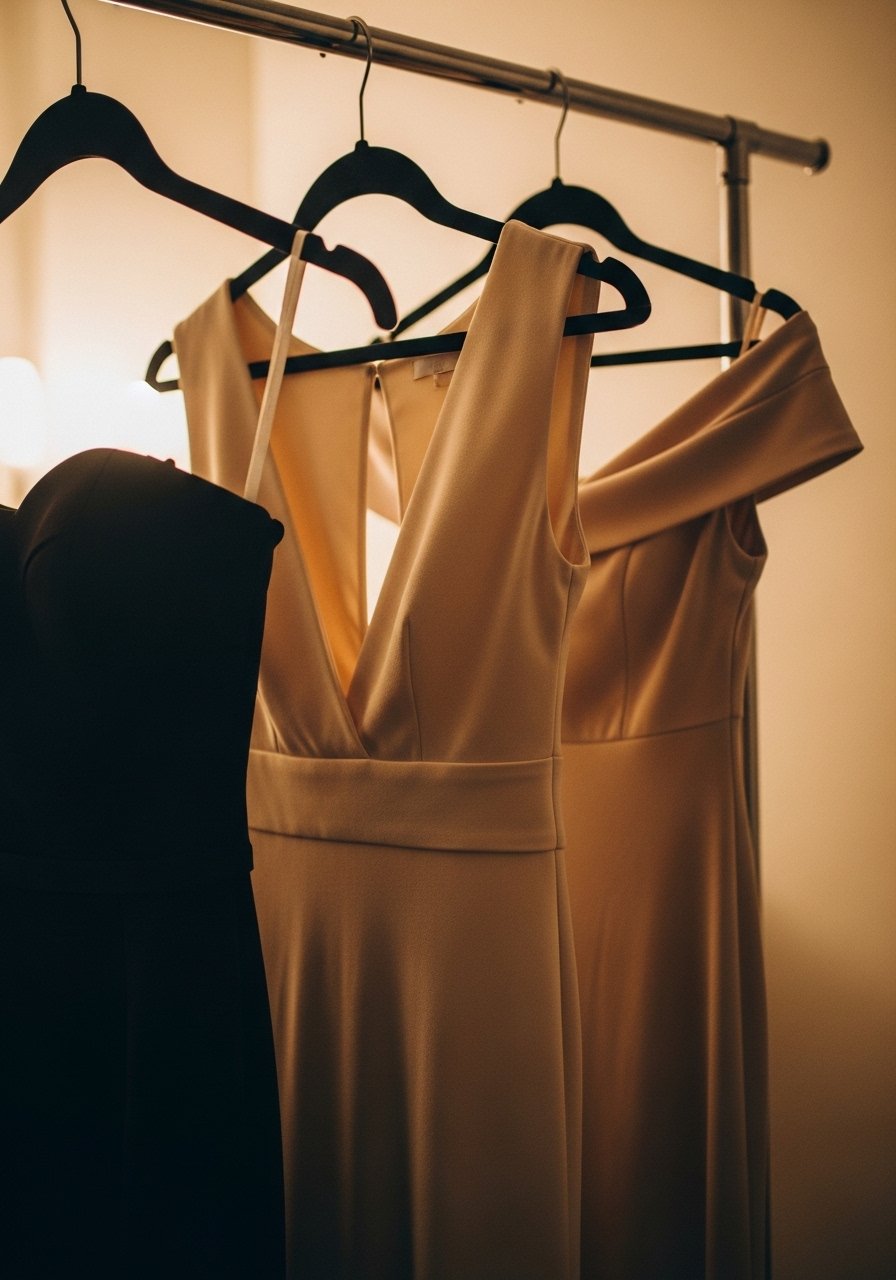
I pick two or three complementary silhouettes and allow variations in length or neckline. The visual change is depth: different lines frame faces and bodies without chaos. Many miss how much variety actually photographs better than exact matches. A common mistake is insisting on identical cuts for everyone; that often sacrifices comfort and budget without improving the look.
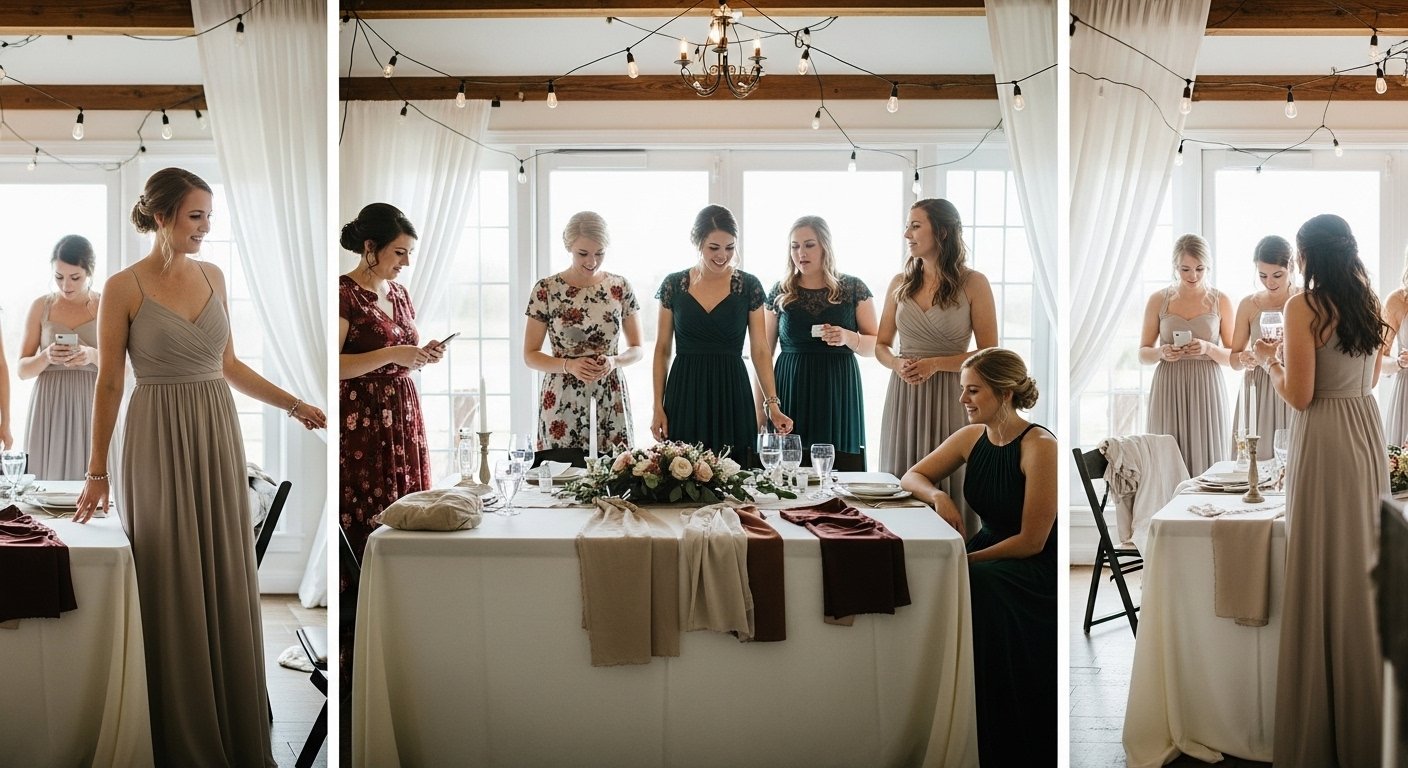
Step 3: Place colors and lengths for balanced photos and movement
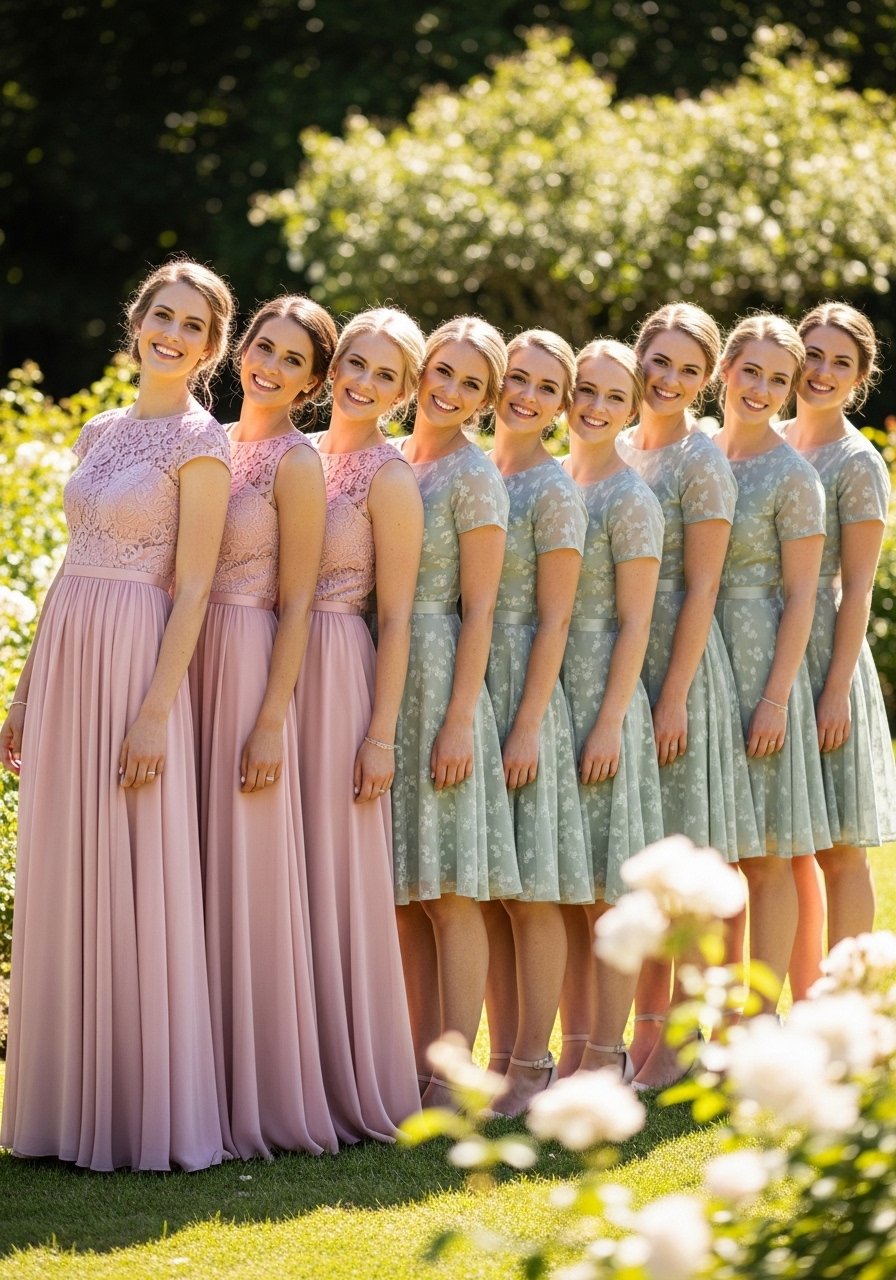
I plan placement for ceremony photos and procession—who stands where, who walks first. Alternating tones and lengths prevents clumps of color in photos and keeps sightlines open during vows. People usually forget to rehearse placement with dresses on; that’s when awkward color clusters appear. Mistake to avoid: grouping the same shades together because it seems simpler. It ends up drawing attention to sameness, not balance.
Step 4: Tie mixes together with consistent accessories and shoes

I choose one accessory thread—same shoes or matching bracelets—and add subtle repeated accents like a sash or pin. The visual shift is a small repeated detail that reads as intentional from a distance. An insight I use: accessories read first in photos, so a tiny repeat creates cohesion. Mistake to avoid: over-accessorizing every person differently; that undoes the balance faster than mismatched fabrics.
Step 5: Test dresses in real light and do a final walkthrough
I hang dresses where the ceremony and reception light live, then take photos and walk through entrances. The visual payoff is obvious: tones that seemed fine under store lights can clash softly in daylight. People often skip this and pay for returns or last-minute swaps. Small mistake to avoid: relying only on online photos—real light shows how fabrics move and what the camera will record.
Color Coordination for Mixed Dresses
I like limiting hues to three family tones: anchor, neutral, and accent. That keeps variety without overwhelm. Swatches help—pin them to hangers so I can see combos in real light.
Quick tips:
- Use the bride’s dress tone as a neutral guide.
- Keep one accent color for boutonnieres or sashes.
- Let metallics (gold/silver) be the common thread.
Guest Flow and Photo Placement
I think about where people will stand, sit, and enter. Dresses look different when someone sits at a table or walks down the aisle, so plan those sightlines. I map the procession like choreography—who will be next to whom affects balance.
When planning seating, I avoid putting all similar heights or colors in one row. Staggering keeps photos dynamic and the movement natural.
Keeping the Look Polished, Not Overdone
Less is often more when creating cohesion. I aim for small repeated elements rather than matching every detail. That feels relaxed and intentional.
If budget is tight, I prioritize one unifying purchase—matching shoes or a set of sashes—over buying full matching gowns. It’s an affordable way to get that polished look without forcing everyone into one style.
Final Thoughts
Start with one anchor and keep the rest simple. I choose silhouettes I know look good together and use one accessory to tie them. Test in real light and place people intentionally for photos and flow. Small, confident choices beat obsessing over perfect matches.
Leave a Reply